Tuesday, May 29, 2012

German Pancakes


I had not made German Pancakes for years, but then one day I was looking through my cookbooks trying to find something to make for dinner and I found a recipe for German Pancakes.  As I remember I didn't make the pancakes for dinner, but I made them the next morning for breakfast.  My kids LOVED them.  My six year old especially  loves them, and asks for them about once a week now.
If you are wondering what German Pancakes are; they are made from an egg based batter, poured into a 9x13 pan and baked in the oven.  They come out fluffy, puffy and golden brown.

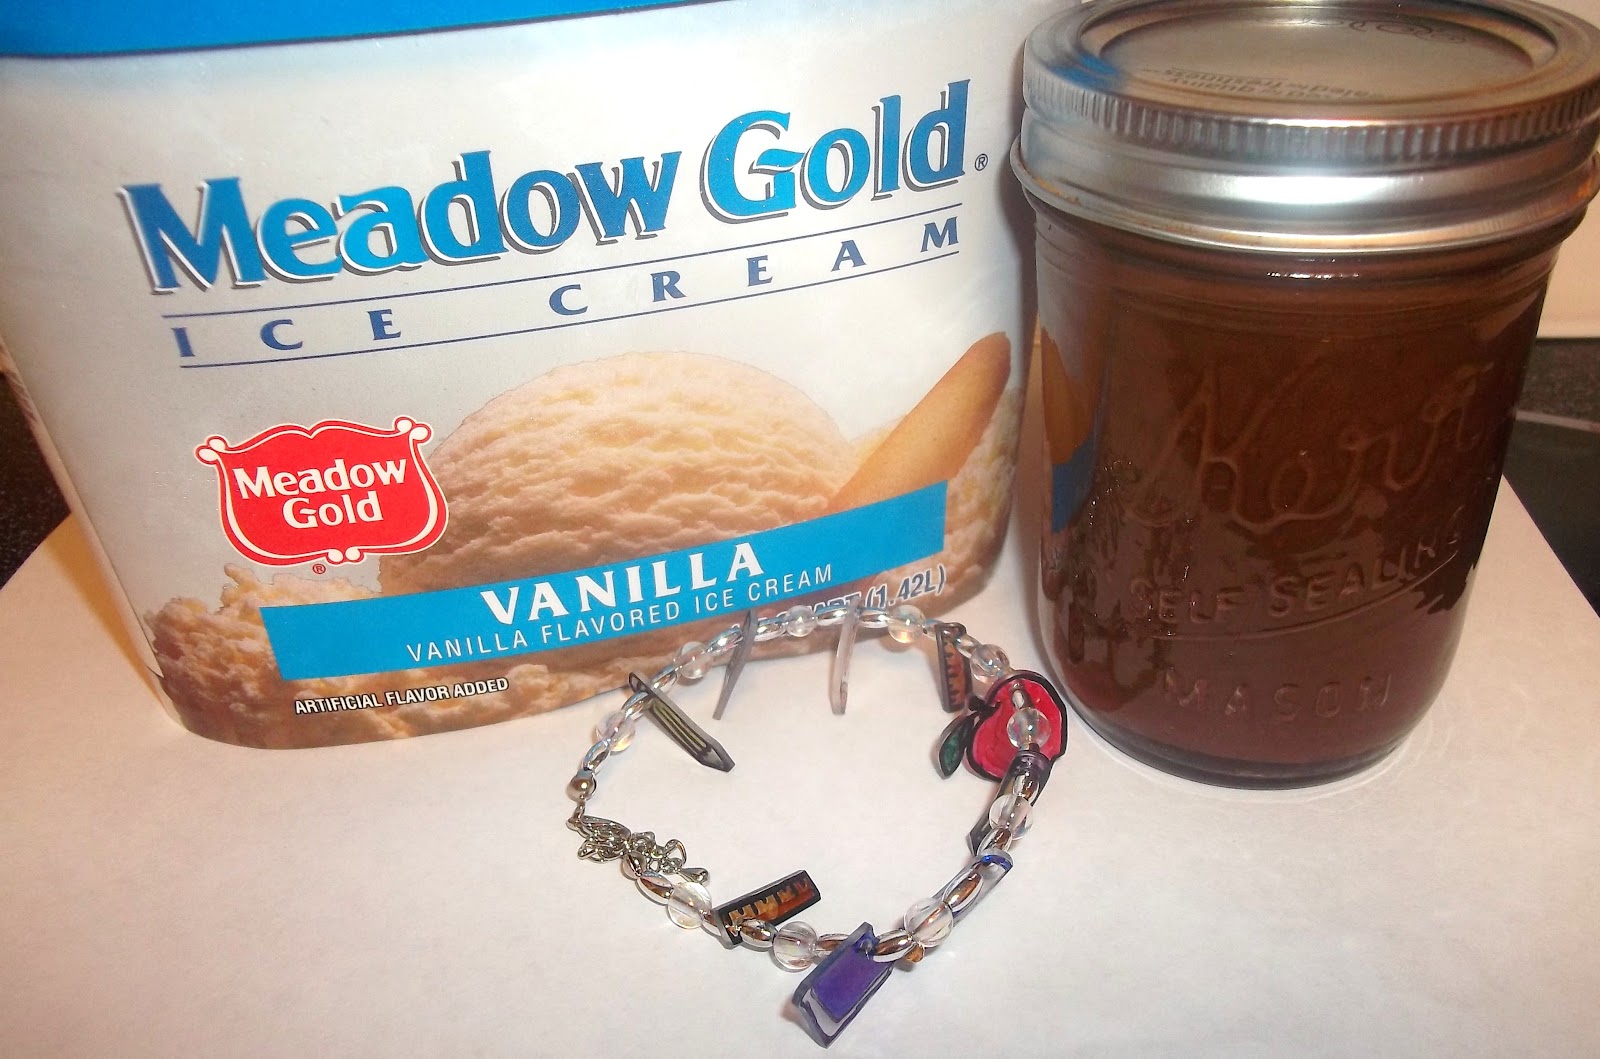
I also have a recipe for maple syrup.  I bought some pure maple syrup from Costco one time, but my kids wouldn't eat it and my husband did not like it either.  So I just make this fake maple syrup.  It is very easy to make, my kids like it, and it doesn't have High Fructose Corn Syrup in it like all the syrups you buy at the store.  It does have lots of sugar though.

Here is the recipe.  I have changed the recipe a bit, from the one I found, but I got the original recipe from a cook book by Nancy Kimmerle.

German Pancakes

3 Tbsp Butter
6 eggs
1 cup milk
1 cup flour
1/2 tsp salt
1 tsp vanilla
1/4 cup sugar

Preheat oven to 400.  Put butter in a 9x13 pan, while the oven is heating up put the pan in the oven to melt the butter.   Put the rest of the ingredients in a blender and blend well.  Scrape the sides of the blender with a rubber spatula and then blend again for 2 min.  Pour the batter into the 9x13 pan and bake for 25 min or until golden brown on top and sides.  Serve with syrup.


Fake Maple Syrup

3 cups sugar
2 cups water
1 1/2 tsp mapleine  (This is imitation maple flavoring)
1/2 tsp butter flavoring  (You can find this and the mapleine by the extracts at a grocery store.)

Combine all the ingredients in a saucepan and bring just to a boil over med heat.  Remove from heat and then use on pancakes.  This makes a lot of syrup, so I put it in a store bought syrup bottle and store it in the fridge.

Friday, May 18, 2012

Teacher Gifts - Sis 1


My little Monkey graduated from Kindergarten today. Sniffle. It's a good thing I was playing the piano for two reasons. 1) I had seen the whole program lots of times and 2) I couldn't even see Monkey most of the time. Otherwise, I'm sure I would have had a mascara mess.

Our family has been going to the best school in Tooele for 5 years, and this is our last. I do have fond memories of the school the kids will be going to next year, but we will miss Northlake (the people there, really) SO much. I have volunteered quite a bit at the school, more in the past than recently, because of Bear, but I am always in awe of the wonderful teachers my children have had.


There's really nothing that would come close to thanking teachers for all of the work, inspiration, and dedication they put in and sometimes the heartache that they go through, but I'm sure they knew that when they started on the teaching path.

So, here's the insignificant little gift that I chose to give to our teachers this year.

School Supplies Bracelets


Materials needed:
#6 recycleable plastic*
permanent markers of many colors
scissors
hole punch
beads
string and findings


Here are the patterns I had my kids trace and color. Feel free to use them (Click and drag onto your desktop or right click and save as). Before shrinking, they were each up to 2 inches in the longest direction.


Preheat oven to 300 degrees Farenheit. Trace and color (or draw your own) school supplies on #6 plastic. Cut out each shape as smoothly as possible. Punch a hole in each. (You will never be able to punch a hole once it's shrunken.)


Spread the shapes on a cookie sheet or pan, making sure none of the shapes touch each other. We baked our shapes one child's set at a time, so that they wouldn't get mixed together. Place pan in the oven and turn on the light. After about 5 minutes, check to see if the shapes have shrunken. If not, just wait longer. If they're curling a lot, they're in the process of shrinking. Once the shapes are mostly flat, remove them from the oven. If you want to flatten them NOW is the time.

When cooled enough, remove from pan and string, along with other beads to make a bracelet.


* #6 plastic is polystyrene, which is the same material styrofoam is made from. I collect the lids from any trips we make to Costa Vida or Cafe Rio (always get a to-go lid) and the lids of disposable casserole pans from the dollar store. You can still use the pan when you're taking dinner to someone. Just cover it with tinfoil and keep the lid for your projects. Some deli containers and plastic cups are also #6 plastic. Look for the recycle triangle with a 6 or PS underneath. Don't use any other number. It won't work. Just wash your used plastic by hand, dry it, and store it for later. The vertical sides can be used for fun things, too, but it's much easier to trace pictures if you have already cut them off.

Hot Fudge Sauce

Ingredients:
1 14 oz. can sweetened condensed milk
3/4 cup semi-sweet chocolate chips
1 1/2 teaspoons vanilla

Combine all ingredients in a small saucepan. Heat on medium-low heat, stirring occasionally until the chocolate is all melted and the mixture is smooth. Pour into 1/2 pint jars, if using as a gift. You could make cutesy lids, too. I didn't.

Reheat in the microwave and serve on ice cream. (Or, you can get a clean spoon and sneak a bite right from the container in the fridge, like I usually do.)

Thursday, May 17, 2012

Chicken Caprese Pasta


A couple of weeks ago I had knee surgery.   So, my good friend brought me dinner.   It was a very yummy dinner with a baked pasta, garlic bread, fruit salad and a yummy cookie for dessert.  I asked my friend for the recipe for the pasta, but I'm a little too impatient.  My kids love garlic bread and really wanted to have it tonight, so I decided to try to make the pasta.  It turned out pretty good.

Chicken Caprese Pasta

1/2 pound pasta
5 chicken tenders
1/2 red bell pepper, chopped
1/4 cup fresh basil, chopped
5 roma tomatoes, chopped
2 Tbsp olive oil
1/2 tsp salt
1/2 tsp pepper
1 1/4 tsp garlic powder, divided
1 cup mayo
1 1/4 cups mozarella cheese
1 cup parmesan cheese
1/2 cup chicken stock

Bring a pot of water to a boil, add some salt and the pasta.  Boil pasta until al dente, and then drain and rinse with cold water.   Heat a frying pan and 2 Tbsp oil.  Sprinkle the chicken generously with salt, pepper and garlic powder, and cook the chicken in the frying pan.  In a small mixing bowl mix the tomatoes, basil, olive oil, salt and pepper and 1/2 tsp garlic powder, and just let it sit.
Mix the mayo, 3/4 tsp garlic powder, chicken stock, 1 cup mozarella and 3/4 cup parmesan together.  Then mix the sauce, pasta, chicken and peppers together.  Put into a 9x13x2 baking dish and sprinkle with the remaining parmesan and mozarella cheeses.  Bake at 350 for 30 min.  Serve with the basil, tomato mixture on top.
Enjoy.

Super Easy Cream Cheese Pie - Sis 1


I would like to have graham crackers on hand at all times, but whenever I have them, DH does stupid things with them like breaking up an entire sleeve at a time and eating them in a bowl with milk. So, I came up with my own graham cracker crust alternative. The filling is great, too!

Super Easy Cream Cheese Pie

Crust:
1/3 cup butter, melted
1/4 cup brown sugar
1/2 cup roasted almonds, blended*
1/2 cup whole wheat flour

Filling:
8 oz. cream cheese, softened
1/2 cup powdered sugar
1 1/2 cups lowfat vanilla yogurt

Preheat oven to 375 degrees Farenheit. Mix crust ingredients in a small bowl and press into a greased 9-inch pie plate. Bake about 12 minutes, or until slightly browned. Allow to cool completely.

With a hand mixer, blend together cream cheese and powdered sugar. It is very important that you do this step first. If you add the yogurt before mixing the cream cheese with the powdered sugar, you will never get all of the lumps out. Add yogurt and beat on high speed until stiff peaks form. Pour into pie crust and chill at least 2 hours. Top with fruit pie filling of your choice.

*Place roasted almonds in your blender and pulse until they resemble coarse flour. If your almonds are unsalted, add a couple of pinches of salt to the crust.

Tuesday, May 15, 2012

Cheater Pasta Salad - Sis 1


Last night, we met up for a niece's birthday party. Sis 3 lives a great distance from the rest of us, so she couldn't be there, but the rest of us were, along with one of our brothers. Everyone loved the hamburgers that Sis 2 made and her husband grilled, so hopefully, she'll let us in on her secrets.

Our brother and Sis 2's husband both said that they usually do not care for pasta salads, but that the one I took was very good. My own DH agreed. Several people said they wanted the recipe. The trouble is that I completely cheated, again, but in the interest of helping other people cheat and get away with it, here's what I did.

I had two pasta salad mixes on hand: a Kraft Classic Italian and a Betty Crocker Caesar pasta salad mix. I boiled the pasta from both mixes until they were al dente, then I drained the water and replaced it with ice cold water. Once the pasta was cold, I drained the water again and added:

3 medium tomatoes, diced
1/2 cup finely chopped onion
1 can whole olives, drained
1 can marinated artichoke hearts, drained
about a 2-inch stack of sliced pepperoni, cut into bite-sized pieces

I dumped both seasoning packets from the salad mixes into a small bowl and mixed them with a cup of from-a-bottle italian salad dressing. I didn't put the dressing on the salad until I got to the party, because I've found that the longer a pasta salad sits, the more the pasta absorbs the dressing. You might think that the flavor would be stronger in this case, but the opposite is true. So, never add the dressing until the last minute.

I got away with taking a cheater pasta salad to a function, and so can you.

Wednesday, May 9, 2012

Chocolate Filled Crumbles - Sis1


I'm taking dessert to a PTA luncheon today, and like I said I'm moving, so I'm only using stuff I already have in my pantry. That means I can't take anything that requires cream, white flour, white sugar (they're already at my storage unit) or, a handful of other things.

You may recognize part of this recipe from my Apple Crisp recipe. That's because the crust is the same. But with this fillling, there's no need to serve it on a plate, or top it with cream.

Chocolate Filled Crumbles

Ingredients:

Crust:
1 cup softened butter
1 cup packed brown sugar
2 cups whole white wheat flour
1/2 teaspoon salt
1 cup rolled oats

Filling 1 14 oz. can sweetened condensed milk
1 1/2 cups semi-sweet chocolate chips


Preheat your oven to 350 degrees F. Place all ingredients for the crust in a large bowl and cut together with a pastry blender. 

Press half of the crisp mixture into a 9x13 pan. I like to use pyrex, because it bakes so nicely. Reserve the other half of the crisp mixture.

Combine condensed milk and chocolate chips in a small saucepan. Heat over medium-low heat, stirring occasionally, until all the chocolate chips are melted and the mixture is homogeneous.  Spread over crust in pan. Sprinkle the other half of the crust mixture over the top of the chocolate filling, making sure to cover the edges, too.

Bake about 35 minutes, or until the top is golden-brown. Cool well, and cut into squares to serve.

Zucchini Bread - Sis1


I'm moving, so I decided to make some zucchini bread.

I know you're scratching your head, wondering how that is a cause and effect relationship, but it all makes perfect sense. I am trying to use up all of the food in my freezer so I don't have to take it with me when we move. I froze grated zucchini in 2 cup baggies last fall when I was inundated with the stuff. Now, I have to use what's left. (I hate to toss perfectly good food.) Freshly grated zucchini works just as well.

Also because we're moving, I don't have any all-purpose flour in the house, which is what I normally use when I make zucchini bread. I already took all of that to the storage unit. So, I had to use whole white wheat (I'm too lazy to go back to the unit right now.) Since I was using whole white wheat, I decided to leave out some of the sugar and fat from my normal recipe. My family didn't notice any of my changes!


Zucchini Bread

Ingredients
2 3/4 cups whole white wheat flour
1 teaspoon salt
1 teaspoon baking soda
1 teaspoon baking powder
1 tablespoon ground cinnamon
1/2 teaspoon ground nutmeg
1/4 teaspoon ground ginger
3 eggs
3/4 cup vegetable oil
2 cups white sugar, plus more for pans
1 teaspoon vanilla extract
2 cups grated zucchini, drained a little if juicy

Preheat oven to 325 degrees Farenheit. Grease 2 large loaf pans and coat with sugar. (Any time a recipe says to coat a pan with flour, I use sugar. It makes a lovely crust.) Mix dry ingredients in a large mixing bowl. Add remaining ingredients and mix well. Then I add a bag of semi-sweet chocolate chips, but you don't have to. It's good without them.

A quick note on chocolate: Dark chocolate has been linked to less skin damage when playing in the sun, AND, people who eat a lot of dark chocolate tend to be slimmer (than whom, I don't know) AND, dark chocolate has great antioxidants to prevent wrinkles. Those are all I need to know.

Divide batter between loaf pans and level. Bake for 50-60 minutes, or until toothpick inserted into the center of the loaf comes out clean.

Saturday, May 5, 2012

Scientific Investigations - Sis 3


An old yellow Ford Pinto is camped in the covered parking stall next to mine. In the almost three years we've lived here, the Pinto has never moved. About a year ago now, someone drew stick figures and and smiley faces on the dusty windows. The scribblings are still there, just covered with an ever-growing layer of dust.

Mom and Sis 4 fly in to visit us every so often. After I pick them up at the airport, the first thing they say when we drive into the parking lot is, "Well, guess we came to the right place. The Pinto's still here." It has become a bit of a standing joke.

A few weeks ago, Mom came to stay with me while my husband was away on business. While she was here, we decided to figure out, once and for all, how long the Pinto has been sitting there. I had noticed there was a newspaper lying open on the back seat. Since the paper was at the top of the pile, we figured it would give us a fairly good idea of when the car had been driven last. 

Unfortunately, the paper was lying on the left side of the back seat--the side parked next to the wall. The gap between the wall and the car was much too small for us to get through, so we were limited to looking through the window opposite the paper. Between the distance and dust, we couldn't make out the date printed in the upper right corner. 

Not to be defeated, we used my phone to take a picture of the paper. Getting a clear shot took a few tries. The first picture showed nothing but the reflection of light on the dusty window. Six strong wipes at the dirt and using HD mode on my camera did the trick. We couldn't zoom in close enough on the phone screen to see the date, so we went inside and uploaded the picture to my computer. 


Still no luck. When we zoomed in close enough to see the date, the pixelation made the letters too fuzzy to read. We were stumped for a few minutes. 

Ah hah! The large headline of one of the articles was legible, as was the name of the paper. A few minutes search through the Chronicle's online archives and we had our answer. The paper was printed on June 27, 2006. Thus, according to our scientific deductions, the Pinto must have been permanently parked around the same time.

Now, why the Pinto has been camped here for nearly six years is another question altogether. Maybe we'll take up that investigation next.